Beginner's Guide to Starting a Pollinator Garden in a Small Backyard
A pollinator garden does not need acreage. A strip along a driveway, a bed under the kitchen window, or a few containers on a sunny patio can feed bees, butterflies, moths, and hoverflies from early spring into late fall. The work is front-loaded: get the site and soil right in the first season, choose plants that belong where you live, and the garden mostly runs itself after that. Here is how to start one without tearing up the whole lawn or spending a small fortune.
Read the Site Before You Buy a Single Plant
Spend a week or two watching your space before you dig. The information you gather now will save you from planting shade lovers in full sun, or watching a bed drown every time it rains.
Check how many hours of direct sun the spot receives. Six or more hours is full sun and opens up the widest plant menu. Three to six hours is part shade, still workable, but choose accordingly. Also note where water pools after a storm, where snow lingers longest, and which direction the prevailing wind comes from. Pollinators forage best in calm, warm, sheltered spots, so a fence, hedge, or even a few taller plants on the windy side helps.
Then get your hands in the soil. Squeeze a handful: if it crumbles, it is likely loam; if it ribbons, you have clay; if it falls apart and feels gritty, it is sandy. You do not need a lab test to start. You need to know whether water drains or sits.
- Sun: count hours, not impressions. Morning sun dries dew and gets bees moving early.
- Soil: clay holds moisture but drains slowly; sand drains fast and dries out. Compost improves both.
- Water: is a hose nearby, or will you be hauling cans all summer?
- Existing plants: if weeds grow lush there, most perennials will too.
Prepare the Ground Properly, Even If It Takes a Season
For a small bed, sheet mulching is the least back-breaking option. Mow the grass low, lay overlapping cardboard (remove tape and staples), wet it thoroughly, then cover with three to four inches of compost or arborist wood chips. Plant into it the following spring. Weeds and turf underneath break down, and you have added organic matter without turning a single shovelful.
If you want to plant immediately, strip turf with a flat spade, shake soil off the roots, and pile the sod upside down in a corner to rot. Then loosen the top few inches and mix in compost. Skip repeated tilling; it wakes up buried weed seed and damages soil structure.
Growing in containers? Use a proper potting mix rather than garden soil, which compacts in pots and drains poorly. A fifteen-inch-wide pot will hold a compact native perennial or a few annuals.
Choose Plants That Do Real Work
Native plants generally support far more local insects than exotic ones, because insects and plants in the same region evolved together. That said, a blend works well: natives as the backbone, plus a few long-blooming annuals to fill gaps in color.
Three decisions that shape the whole bed
- Bloom succession. Aim for something flowering in each season: early bloomers such as willows, violets, and pussytoes in spring; bee balm, coneflower, and milkweed in summer; asters, goldenrod, and sedum into fall.
- Flower shapes. Flat, daisy-like flowers are open to almost every visitor. Tubular flowers suit long-tongued bees and hummingbirds. Umbels, the flat clusters on dill, fennel, and yarrow, feed the tiny wasps and flies that pollinate quietly and eat pests.
- Host plants. Nectar feeds adults; leaves feed caterpillars. Milkweed supports monarch caterpillars, dill and parsley support swallowtails, and asters and goldenrods host a wide range of moths and butterflies.
Prefer single flowers over heavily doubled cultivars. Extra petals often come at the cost of accessible nectar and pollen. Ask a local native plant nursery or your regional native plant society which species are right for your area; a plant that thrives in one region can struggle two states away.
Plant in Drifts, Not Rows
Pollinators spot a mass of color faster than a lonely specimen. Group three to five of the same plant together, then repeat that grouping in another spot. Put taller growers toward the back or the center, shorter ones at the edges where you will actually see them.
Leave one small patch of bare, undisturbed soil. Many native bees nest in the ground rather than in hives, and they need open ground to dig. Resist the urge to mulch every square inch.
Water, Mulch, and the First Year
New plants need help establishing. Water deeply once or twice a week during dry spells through the first growing season, aiming for the roots rather than the foliage. Mulch two to three inches deep with shredded leaves or wood chips, keeping it a couple of inches away from stems and crowns so nothing rots. Skip landscape fabric; it smothers soil life and does not stop weeds for long.
From the second year on, most well-chosen native perennials need little supplemental water. Deep, infrequent watering encourages roots to go down rather than spread along the surface.
Seasonal Care, Simplified
- Spring: Wait until nights are consistently mild before cutting back last year's stems, since insects overwinter inside them. Cut to twelve to eighteen inches rather than to the ground, and leave the clippings in a corner for a week so anything inside can crawl out.
- Summer: Deadhead a few plants to extend bloom, but leave seed heads on coneflowers, rudbeckia, and grasses for birds. Never spray insecticides on a pollinator garden.
- Fall: The best planting season. Leave leaves where they fall, and leave stems standing, hollow ones especially. Many bees shelter in them.
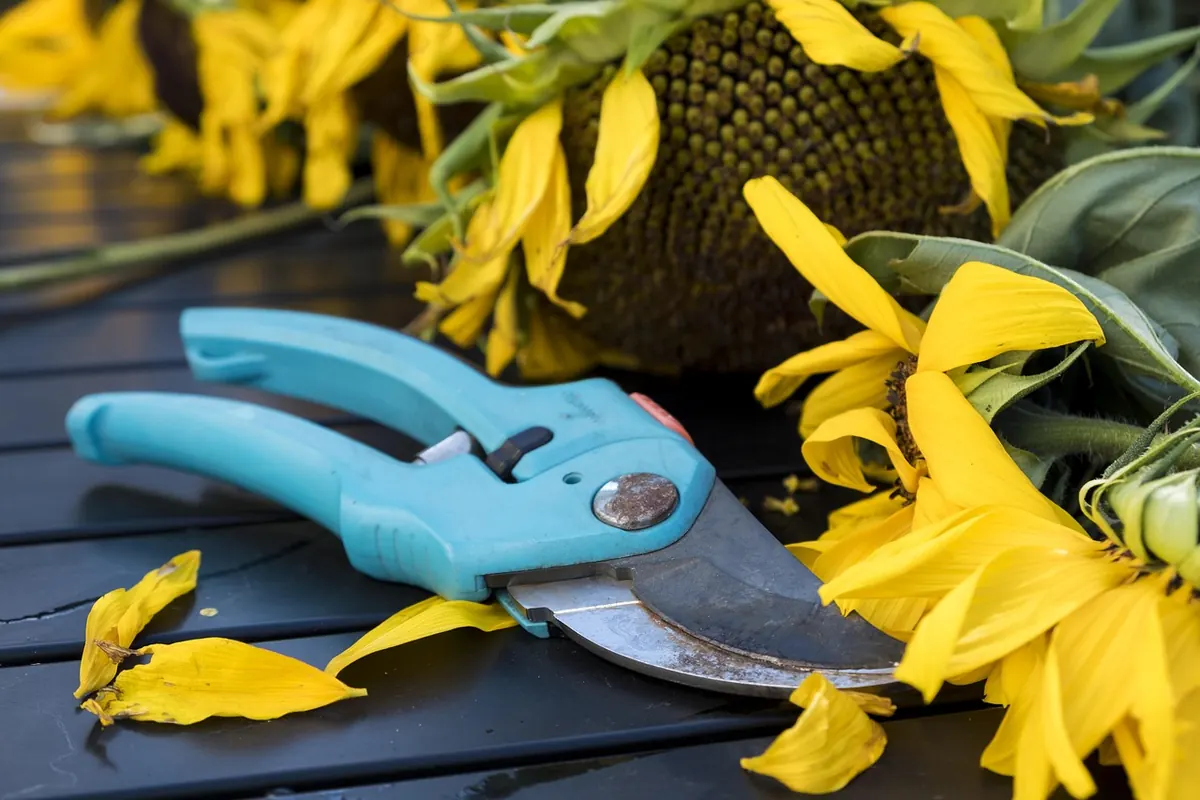
- Winter: Do almost nothing. Read, plan next year's additions, and sharpen your pruners.
Keep the Peace With Neighbors
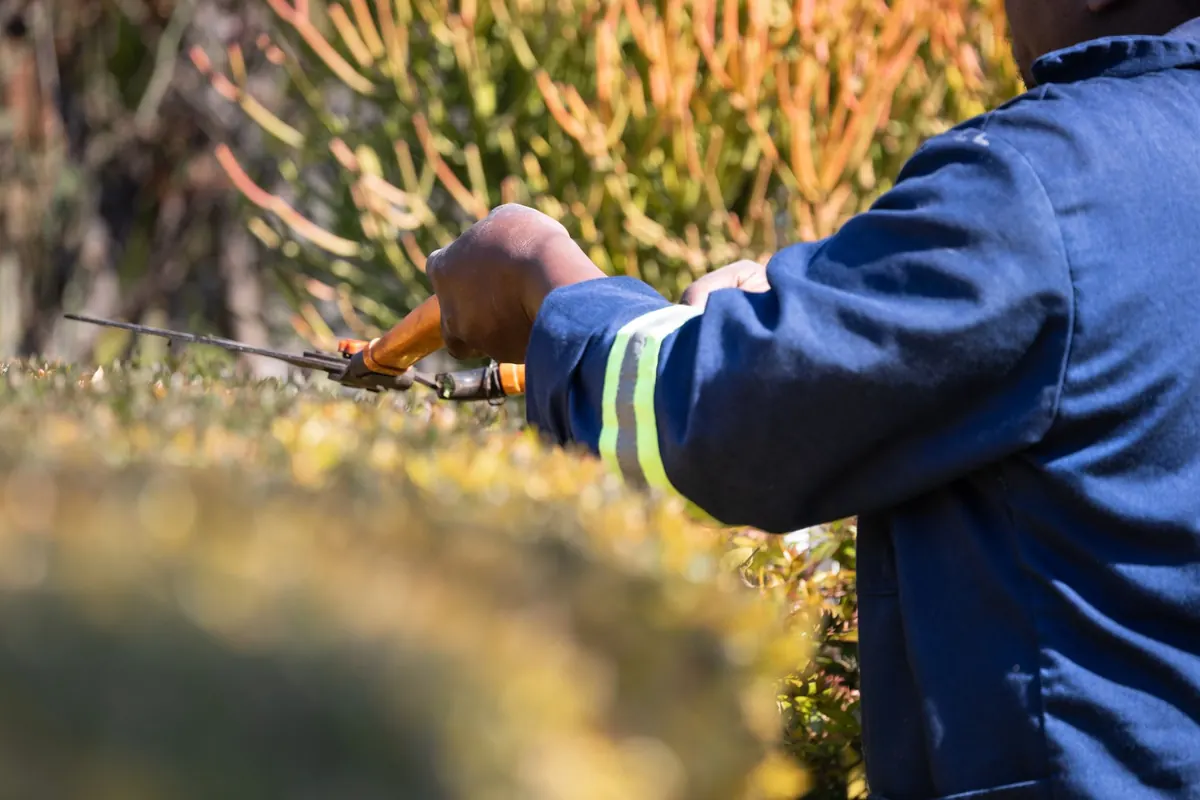
A pollinator garden can look intentional without looking wild. Keep a tidy mowed edge along the front, maintain clear paths, and group the tallest plants away from walkways. A small sign explaining that the bed supports pollinators does more diplomacy than any amount of explaining over the fence.
Start Small, Then Let It Grow
Begin with a bed of roughly four by eight feet, or three good-sized containers if that is all the room you have. Plant densely so weeds have less room, water patiently the first summer, and resist the urge to rearrange everything in year two. Watch which plants the bees return to, and add more of those. Expand by a foot or two each season, and within a few years you will have a garden that hums from March to October with very little input from you.
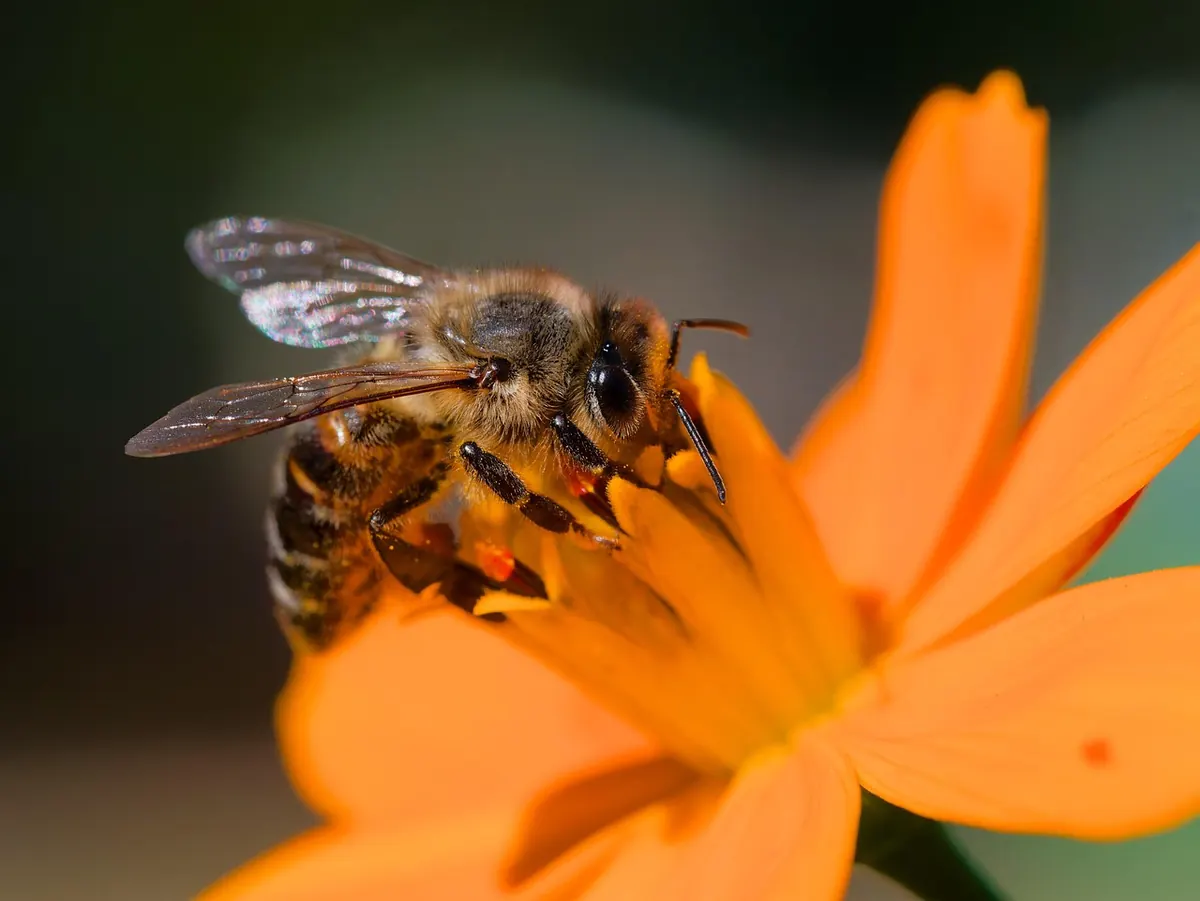
Photo: Ahep317 / Pixabay