How to Build a Backyard Habitat Certification Checklist
You don't need acreage, a pond, or a permit to make a real difference for wildlife. A strip of native perennials along a back fence, a shallow dish of water refreshed every few days, and one corner of the yard left unraked can support bees, butterflies, songbirds, and the small mammals that pass through your neighborhood after dark. Certification programs exist largely to confirm what you've already built — the form matters far less than the checklist behind it. Know what wildlife actually needs, measure what your yard already provides, and you can put your time and money exactly where the gaps are.
The Five Elements, One by One
Nearly every backyard habitat certification asks for the same five things: food, water, cover, places to raise young, and sustainable practices. Individual programs differ in wording, documentation, and whether they require photos or a site visit, so read the requirements of whichever program you plan to use before you build anything. The elements themselves are consistent, and each one has a range of acceptable answers.
Food
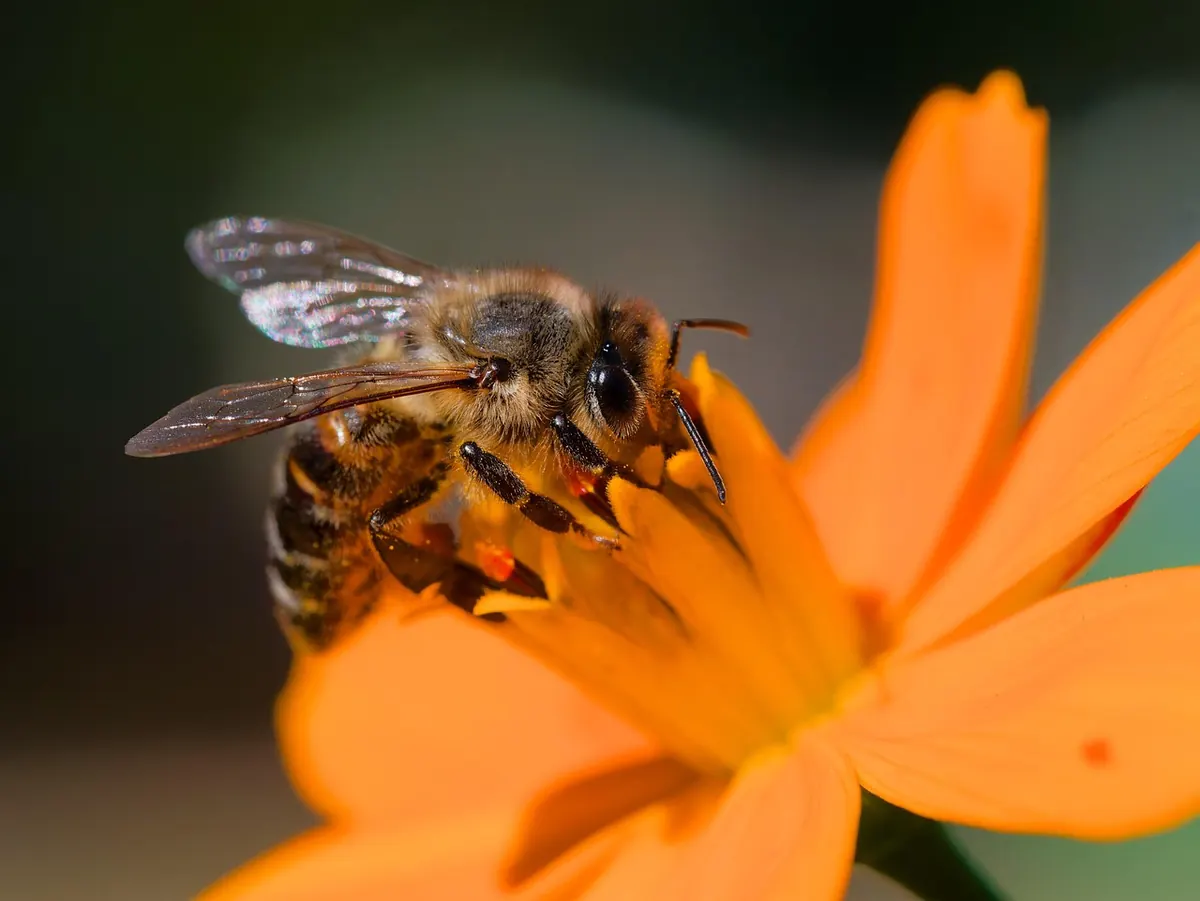
Native plants do the heaviest lifting here. Oaks are famously productive — they host far more caterpillar species than most ornamental trees — while coneflower, goldenrod, and aster feed bees in summer and seed-eating birds into winter. Aim for something blooming or fruiting in every season: early pussy willow for the first bees, milkweed for monarchs, winterberry for flocks passing through in January. Supplemental feeders are fine and genuinely helpful in deep winter, but they can't replace plants that feed insects.
Water
A birdbath with a gently sloping rim and a stone in the middle works as well as anything fancier. Keep the water shallow — an inch or two — and refresh it every few days so it doesn't become a mosquito nursery. A dripper or small solar fountain adds the sound of moving water, which birds find hard to resist. If you have room for a pond, edge it with pebbles so frogs and insects can climb out.
Cover
Cover is shelter: dense shrubs, evergreen boughs, a rock wall, a brush pile, a stack of logs. Wildlife needs it to escape predators, wait out storms, and stay warm. Leave the leaves under shrubs and trees; they shelter overwintering insects and the birds that eat them. If your neighborhood association objects to visible brush piles, tuck one behind a hedge. The animals will still find it.
Places to Raise Young
This is more specific than cover. Think nesting boxes sized for the birds you actually see, host plants for caterpillars, tree cavities left standing, and native bunch grasses where ground-nesting bees can burrow. Don't clean out every nest box in autumn — some species reuse them for winter roosting.
Sustainable Practices
The fifth element is how you manage the first four. Skip insecticides and herbicides, or reserve them for spot treatments as a last resort. Reduce lawn, compost kitchen scraps, direct downspouts into a rain garden, and let some areas stay wild. Certification programs usually ask about these practices directly, and they are the difference between a garden that looks wildlife-friendly and one that works.
Building the Checklist in an Afternoon
The five elements give you categories. A checklist gives you something you can act on. Build yours around your actual property rather than a generic template.
- Sketch a rough map. A pencil outline of beds, lawn, trees, and structures is enough. You'll mark features on it as you go.
- Walk the yard three times in one day. Early morning, midday, and dusk. Note who shows up and where they go. Evening visits usually reveal more than you expect.
- List each element and what already satisfies it. Food: the crabapple, the coneflowers, the feeder. Water: the birdbath, the gutter puddle. Cover: the hedge, the woodpile.
- Mark the gaps. No water in the back third of the yard. Nothing blooming in August. No nesting box on the sunny side of the house.
- Assign each gap to a season. Plant perennials in spring or autumn, install water features before the first hot spell, build brush piles after pruning.
- Pick one improvement per season. One. A whole-yard overhaul usually stalls halfway through.
Record What You See, Not Just What You Plant
A planting list is easy to keep and almost useless on its own. Add a short observation column: date, weather, and the species using each feature. Within a year you'll know whether the birdbath gets used in the morning or the afternoon, whether the asters draw anything at all, and whether that nesting box faces the wrong way. Photograph the yard from the same two or three spots each season; the comparison is more honest than memory.
Recheck Twice a Year
Habitats shift. Trees grow and shade out a flower bed. A mild winter changes what blooms first. Walk your checklist in late spring and again in early autumn, note what has changed, and adjust. If you're pursuing certification, this is also when you gather documentation — photos, plant lists, a sketch of your water feature — so the application takes an evening instead of a weekend.
Start Small and Certify Later
Pick one gap this weekend. Fill the birdbath and scrub it out. Plant three native perennials where you'll see them from the kitchen window. Drag the fallen branches behind the shed instead of out to the curb. Certification is worth pursuing, since it's a good excuse to be deliberate about all of this, but the checklist is the part that keeps working. Update it twice a year and within a few seasons your yard will be doing more for wildlife than most of the parks you drive past.
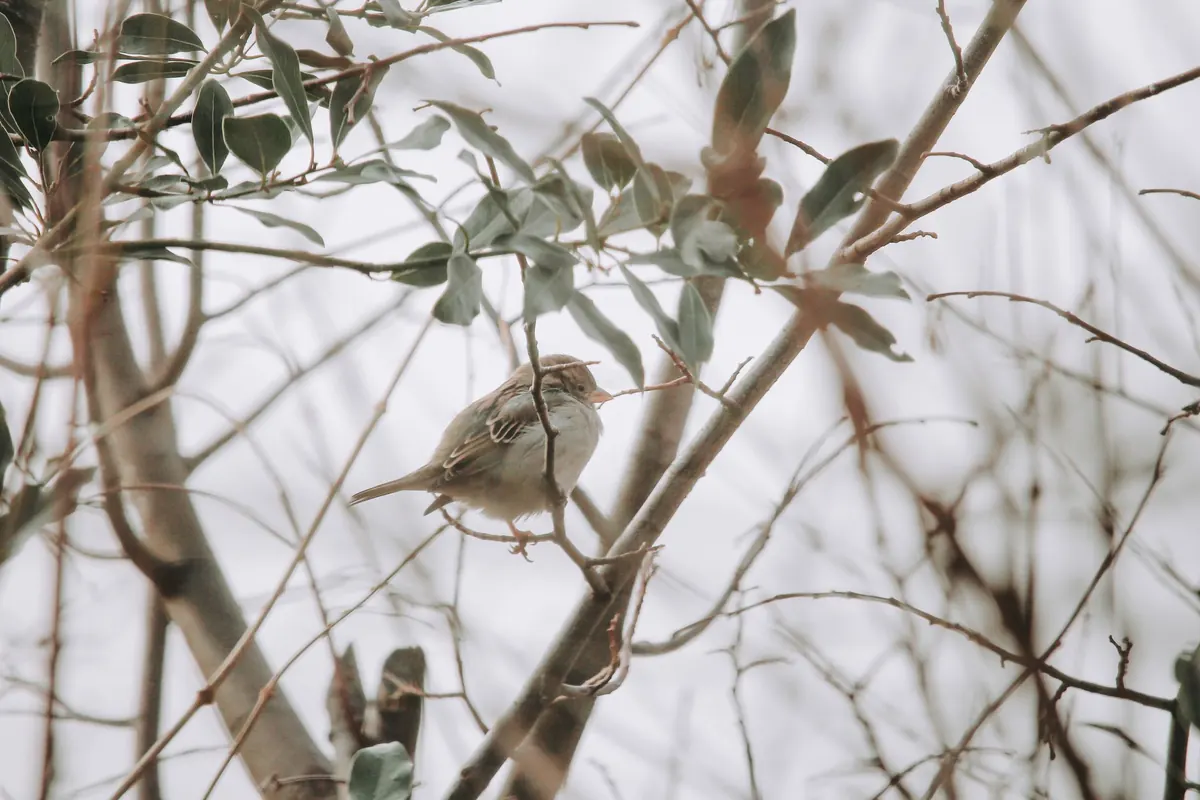
Photo: Kadir Akman / Pexels